Showing posts with label Sara Davies Signature Collection. Show all posts

Sunday, 11 April 2021

On my Mind

I created this card with the latest Sara Davies Signature Collection - Vintage Diary, I think she is launching another collection next week, they seem to be launching so many new products at the moment it is difficult to keep up!


I decided to create another slimline card using the teacup image from one of the papers, I die cut it from one sheet and fussy cut it from another so that I could layer it up for dimension.  I used two more of the beautiful vintage papers along with some corrugated card and inked the edges of everything to enhance the vintage feel.  The flowers were cut from the reverse of one of the papers, the reverse sides are all plain colours, I added another sentiment from my Lisa Horton Crafts Wordage Sheets.


Thank you for visiting my blog today, your company is much appreciated - please leave a comment so that I can come and visit you.

Pauline
x

Friday, 9 April 2021

A true friend ...

I have another vintage style card to share today, I have used the Sara Davies Vintage Diary Signature Collection.


The main part of the card has been cut from one of the papers, there are three sheets of each design, I then fussy cut the clock and bust again from one of the other sheets and layered them up with foam pads for dimension.  One of my blog friends, Jill from Ribbon Challenged, blogged a card with a pleated detail on it and I thought that it would be perfect for this style of card - thank you for the inspiration Jill.  The sentiment is one of the stamps from the collection and the flowers were cut with my Tattered Lace Fleurs Dies.


Thank you for visiting my blog today, please leave a comment so that I can come and visit you.

Pauline
x

Wednesday, 7 April 2021

Just Because

This is another card that I have created with my Sara Davies Signature Collection - Vintage Diary, I've gone really shabby with this one!
 

I have used two of the beautiful papers, the green one that I have used for the base is from my Craft Consortium Grunge Craft Papers Collection, I have distressed and inked all of the edges and added some gold gilding wax.  The lock, key and sentiment are all from the collection, I fussy cut the post mark from one of the papers and created the flower using several different Spellbinders Flower dies, I added some twine behind it.


Thank you for visiting my blog today, your company is much appreciated - please leave a comment so that I can come and visit you.

Pauline
x

Sunday, 4 April 2021

Daydreamer

As soon as I saw the new Sara Davies Signature Collection called Vintage Diary, I just knew I had to get it, it's just my type of collection.  However, when it was delivered, I was at a bit of a loss to know what to do with it!  I think the problem is, there are no toppers, there are some stamps but as those of you that know me will know, I'm not much of a stamper!


Anyway, after I'd had a good look through the 12 x 12" paper pad I decided that I could cut some toppers from the papers. This girl reading is part of a paper, I just cut it out with a stitched rectangle die and inked the edges. I used four of the papers and cut the banners using my Die-namics Fishtail Flag dies, I cut the flowers from the reverse of one of the papers and added a sentiment from Lisa Horton Crafts Wordage Sheets.


Thank you for popping in today and thank you for all of the lovely comments that you leave, they are all read and much appreciated.

Pauline
x

Thursday, 31 October 2019

Flying

I created this card with some new Gemini dies from Crafter's Companion, this one is part of the Elements collection and is called Blue tit.


I decided to use cardstock and papers from Sara's latest Signature Collection - Vintage Lace and paper pieced the die cut bird.  I used a sentiment die from the Gemini Expressions Sentiment collection and some black Centura Pearl.


Thank you for visiting my blog today, please leave a comment so that I can come and visit you.

Pauline
x

Tuesday, 24 September 2019

Ocean Breeze

I have been having a play with my Ocean Breeze collection from The Paper Boutique.


The topper, sentiment, papers and card stock are all from the collection, I fussy cut the anchor from one of the toppers from the Embellishment Pad.  I also used the Ship Deck 3D embossing folder from Sara's Nautical Signature collection to emboss the beige panel.


Thank you for visiting my blog today, your company is much appreciated.

Pauline
x

Wednesday, 2 January 2019

Tartan Christmas

Back to normal this morning - up at 6 am to get our youngest son to work, we get up earlier now than we did when hubby was working!

This is another Christmas card that I created last year, this one went to my Son's Girlfriend's Family.


The papers are from the Sara Davies A Winter's Tale Signature Collection, I inked the edges of everything.


The reindeer die and sentiment are both from the Sara Davies Winter Wonderland signature collection, I cut them from some brushed gold Mirri card stock.  I just added a simple sentiment to the inside.


Thank you for popping in today, your company is much appreciated - please leave a comment so that I can come and visit you.

Pauline
x

Tuesday, 13 November 2018

Birthday Stripes

It was my husband's Birthday on Saturday and this is the card that I made for him.


I used some First Edition Wild at Heart papers, they are perfect for masculine cards and some of them can even be used for Christmas cards. I cut the Happy Birthday using dies from the Sara Davies Just for Men Signature Collection and snipped bits from the 'h' and 't' to create the 'u' and 'l' to make 'Paul'.


Thank you for popping in today, your company is much appreciated - please leave a comment so that I can come and visit you.

Pauline
x

Friday, 24 August 2018

Shabby Chic Butterfly

This is the card that I made for my Son to give his girlfriend for her Birthday.


I used papers from the Sara Davies Rustic Wedding Signature Collection along with the Die'sire Delicate Wings Create-a-Card die.  I distressed the edges of everything and also added some distress ink.


The lacy border is another Crafter's Companion die, sorry I can't remember which one and the sentiment is one of Lynda Chapman's from The Paper Boutique.  I also decorated the inside of the card with more papers from the same Sara Davies collection and a Spellbinders die.


Thank you for visiting my blog, please leave a comment so that I can come and visit you.

Pauline
x

Tuesday, 21 August 2018

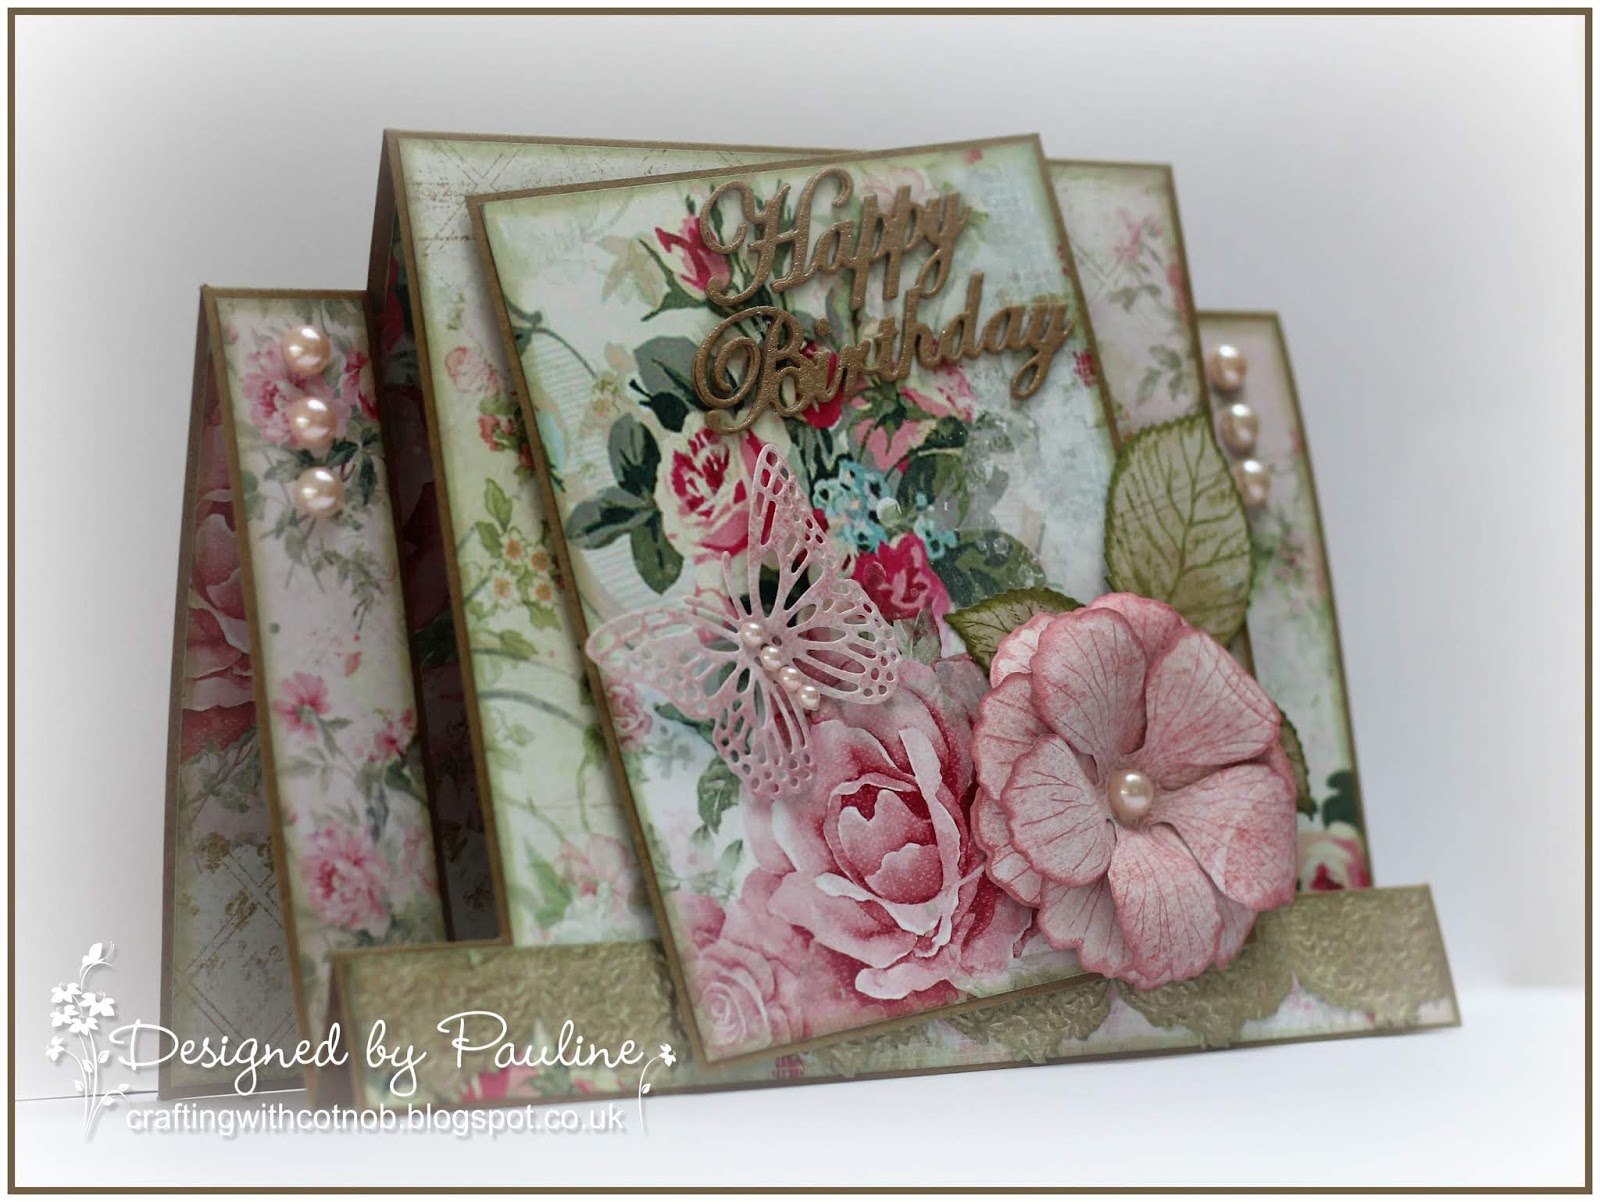
Birthday Blooms

This is the card that I created for my son's girlfriend, it was her Birthday on Sunday.


The papers are from the Sara Davies Shabby Chic Signature Collection, I inked the edges of everything.  The sentiment, border and butterfly are also from Crafter's Companion - I die cut the sentiment several times and layered it up.


I created the flower and leaves with the stamp and die from the Crafter's Companion Stamp & Die Cardmaking Kit, the pearls are from my stash.


Thank you for popping in today, your company is much appreciated - please leave a comment so that I can come and visit you.

Pauline
x

Saturday, 21 October 2017

Diamond Wedding Anniversary

This is another of the cards that I created for the latest edition of Simply Cards & Papercraft.


I was sent the Apple Blossom Large Numbers and Suffixes die set along with the matching stamp set to use, for this card I cut the numbers from glitter card stock.


I used some beautiful papers from the First Edition The Promise
8 x 8” Paper Pad and computer generated the sentiment.


Thank you for visiting my blog today, please leave a comment so that I can come and visit you.

Pauline
x

Wednesday, 18 October 2017

Coming Home for Christmas

I really need to get on and make some Christmas cards or it's going to be the last minute rush again this year!  I have created this Dutch Fold card using the Craftwork Cards Peppermint Forest collection - I love these pretty colours.


There are three of each topper in the collection so I decided to create a pyramage image.  I used circle dies to cut the two smaller layers and fussy cut the car from the bottom layer as it would be covered up.  I layered everything up using foam pads and mounted it onto a scalloped circle which is dark grey to match the papers.


I cut the sentiment from the toppers cover page and added some die cut snowflakes and gems.


This is the inside panel of the card, I used one of the large sentiments from the collection.


Thank you for popping in today, please leave a comment so that I can come and visit you.

Pauline
x

Monday, 16 October 2017

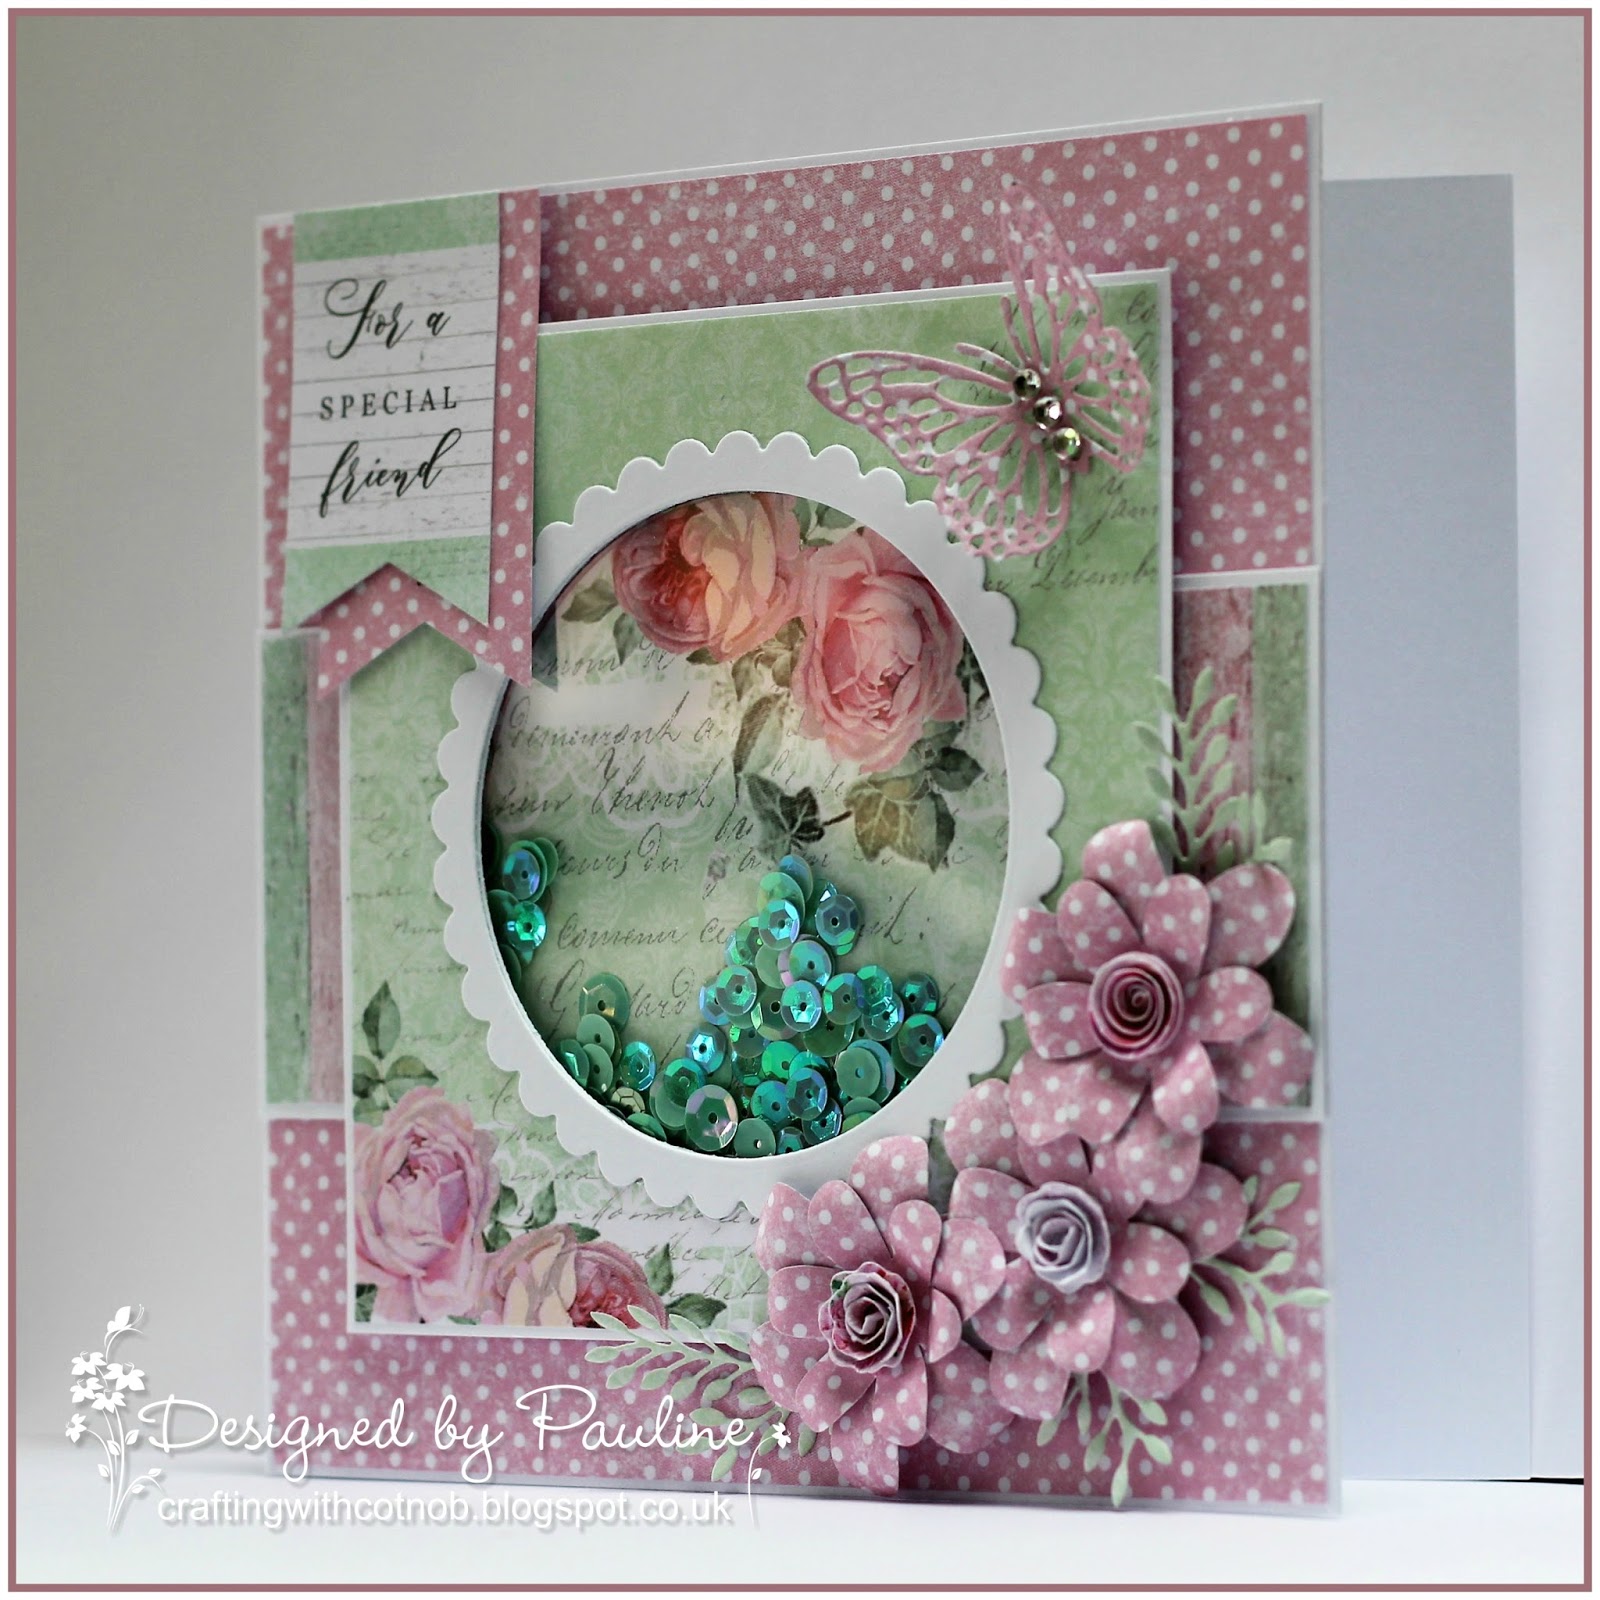
For a Special Friend

Another pretty card to share today, I have used the Craftwork Cards Shabby Chic Collection Pack to create a shaker card.


I used the Country Charm Template to create my flowers, I traced around the large and small flower several times and fussy cut them.  I layered them up and added small rolled flowers from the Shabby Chic collection to the centre of each flower.


The sentiment banner is also from the collection, I cut another banner from the dotty papers.  I added a butterfly that was die cut from the same dotty papers.


Thank you for popping in today, please leave a comment so that I can come and visit you.

Pauline
x

Wednesday, 27 September 2017

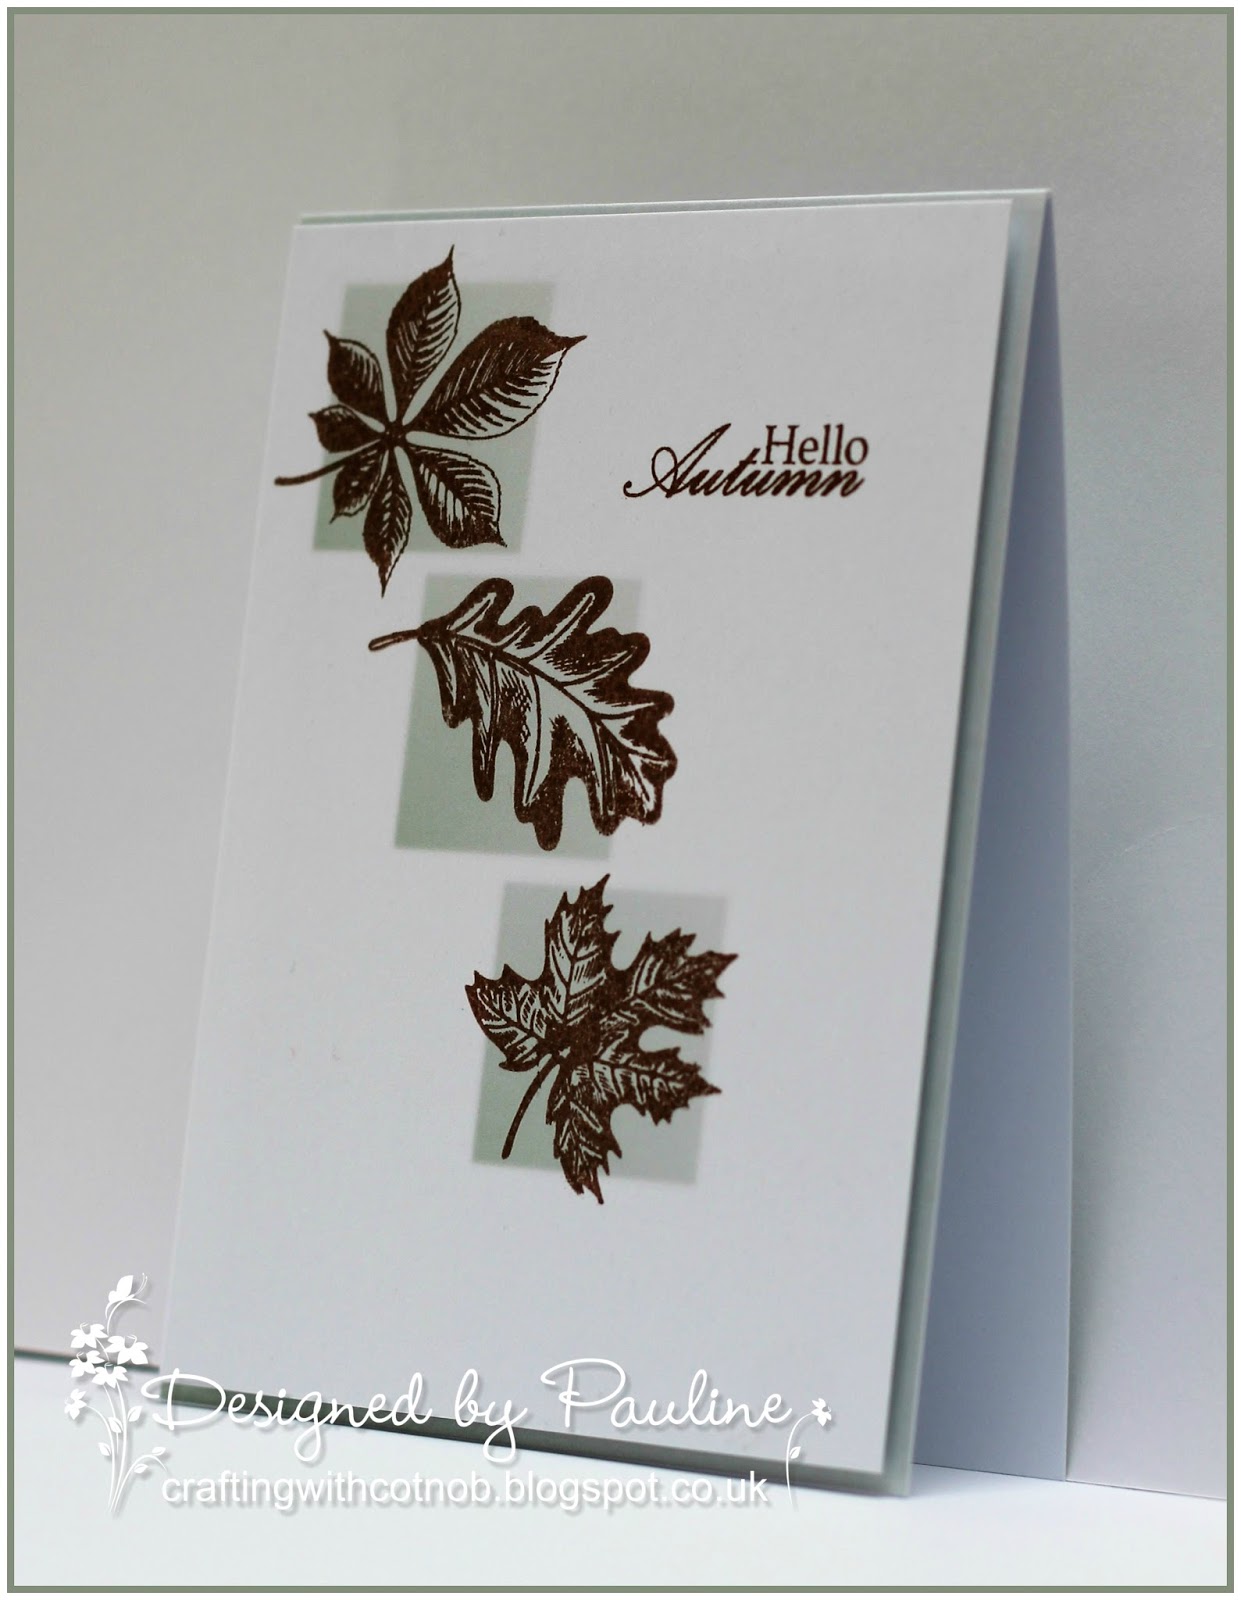
Hello Autumn

I have made two cards for this weeks Less is More Challenge - we have a sketch to use this week.

I'm in Autumn mode at the moment, this first card uses stamps and a sentiment from the Sara Davies Autumn Morning Signature collection.


I created the green boxes in word and also printed the card base with the same colour.


I have used the same stamp set on my second card but this one is more colourful.


I cut the card front out with one of my Sue Wilson stitched rectangle dies and cut the sentiment banner by hand.


I would like to enter these cards into this weeks Less is More Challenge - Sketch 21.


Thank you for visiting my blog today, please leave a comment so that I can come and visit you.

Pauline
x

Thursday, 21 September 2017

Warm Wishes

I decided to have a play with the Sara Davies Autumn Morning Signature Collection.  I have created a card and matching pillow box.


Everything is from the Signature Collection except the ribbon and little sentiment on the pillow box which is from Craftwork Cards.


I created the pillow box with a Tonic die.


I think Autumn is my favourite season, I love the colours and sometimes the weather can be really nice - not too hot and not too cold.

Thank you for visiting my blog today, your company is much appreciated.

Pauline
x
Wednesday, 6 September 2017

Birthday Candle

I have created a little layout of my Mum on her 88th Birthday, my eldest snapped this photo with his phone.


I have used papers and elements from the Sara Davies Birthday Party and Little Angel collections, the numbers on the balloons are a tonic die.

My design is based on one of Jen Fisher's layouts, mine is a lot more simple than hers though!

Thank you for visiting my blog today, your company is much appreciated.

Pauline
x

Sunday, 27 August 2017

Another Tutorial

If you are a regular visitor to my blog you might remember a series of Z-fold cards that I created for Simply Cards & Papercraft magazine.

As part of the commission I created two step by step tutorials, I have already shared the beginner design HERE - this is the more advanced design.

This is the finished card.


Score a 30 x 21 cm piece of blue card stock at 7.5 cm and 15 cm. Trim a 6cm strip from the bottom of the card stock. Trim the larger piece of card stock diagonally from a point 9.5 cm from the bottom left corner to the top right corner.


Valley fold both pieces of card stock along the 15 cm score line and mountain fold along the 7.5 cm score line. Cover the front panels with patterned paper leaving a narrow border.


Adhere the smaller panel to the front of the card to form the Z shape.


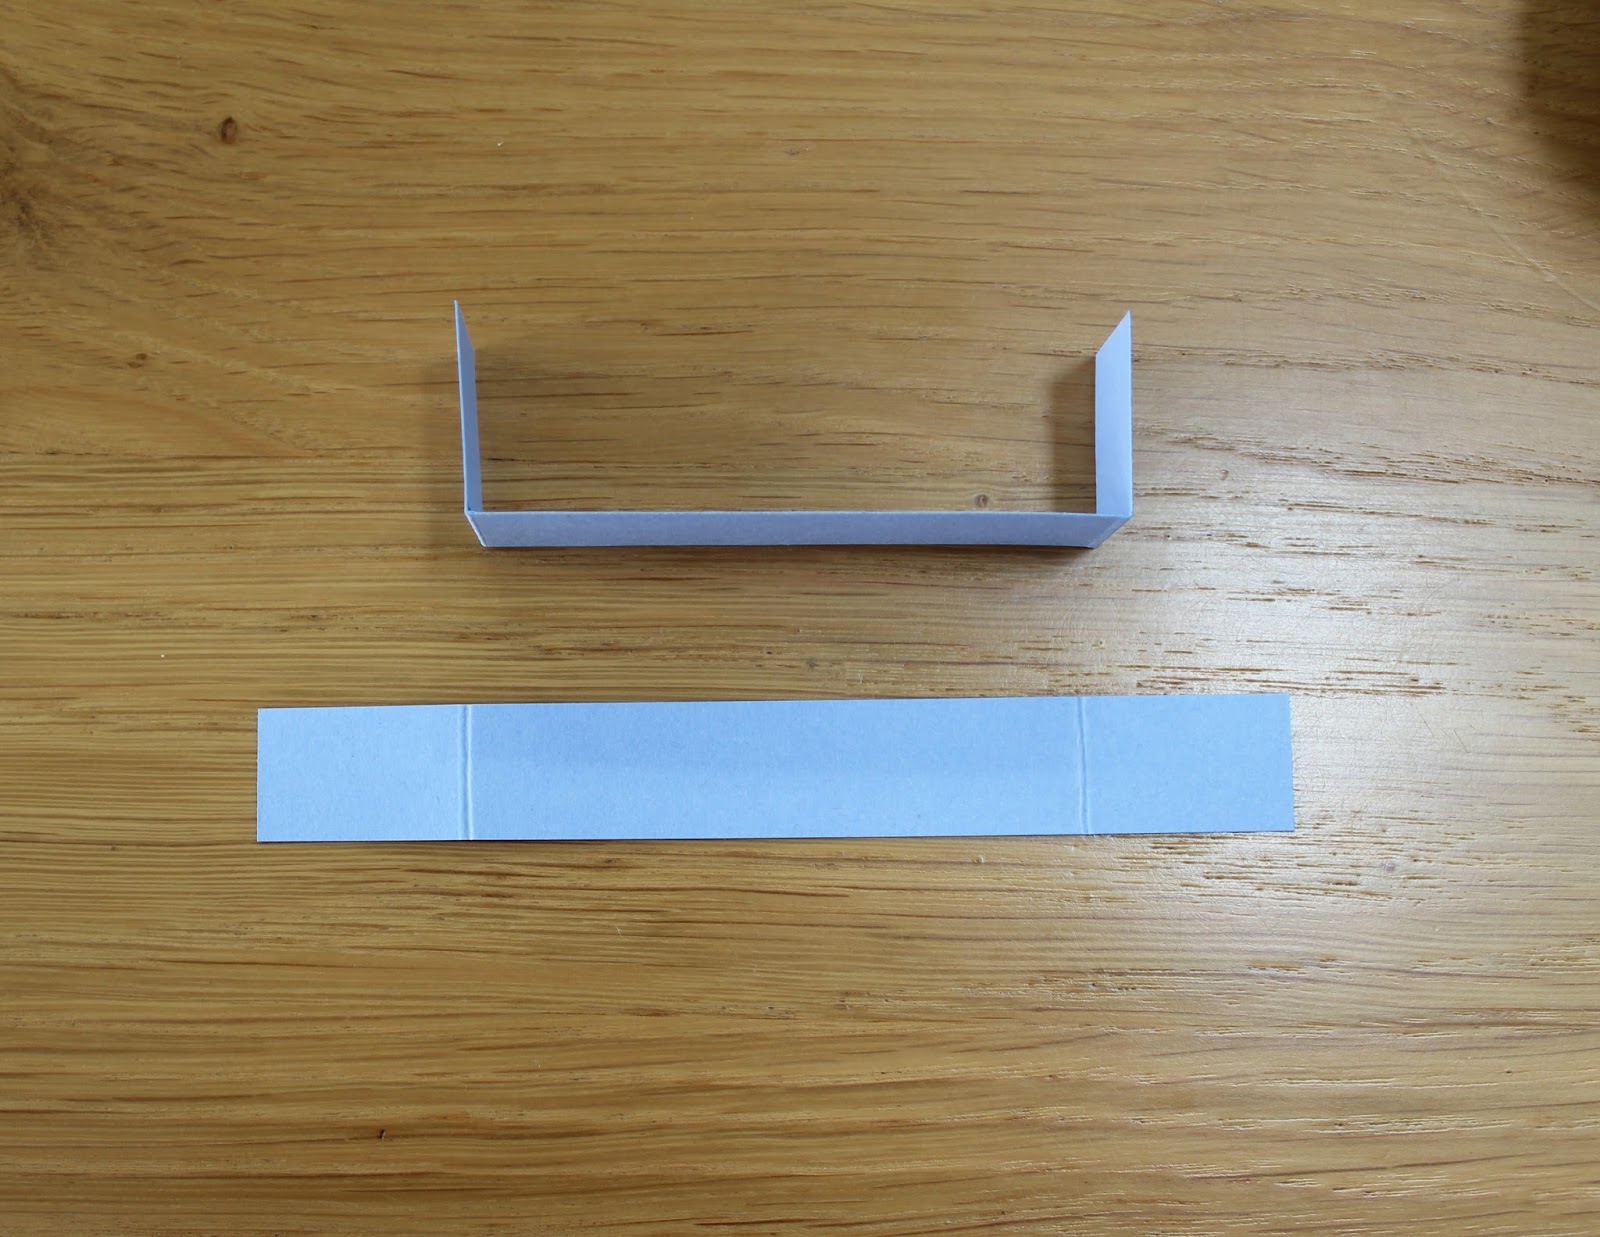
Cut two 12.3 x 1.5 cm strips of blue card stock and score at 2.5 cm from each edge, fold along the score lines.


Attach to the inside of the box that has been formed in the centre of the card.


Repeat with the second strip of card stock to form a pop up box.


Attach a selection of balloons and numbers to the blue tabs using acetate and decorate the front panels of the card as required.


I hope this step by step is helpful to those of you that haven't created a Z-fold card yet.

Thank you for visiting my blog today.

Pauline
x