Showing posts with label Facebook Live. Show all posts

Sunday, 31 July 2022

Jocasta Planner/Photo Book

This is the Planner/Photo book that I created in the recent Facebook Live class with Clare Charvill - My Creative Spirit, it goes with the Recipe Box that I shared HERE.

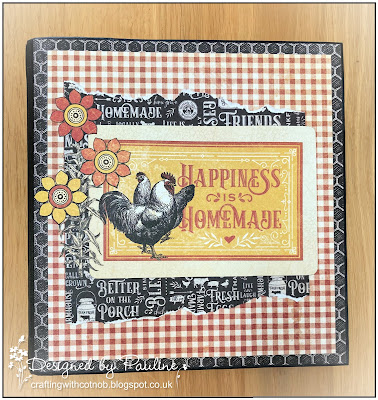
This is the cover, I have used the Graphic 45 Farmhouse collection, the same as the Recipe Box, I used several of the papers, I did some paper tearing and added a journal card and some fussy cut flowers.


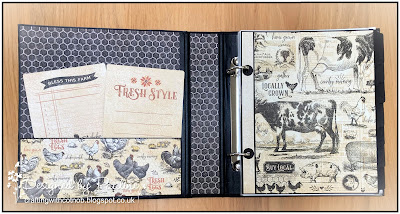
This is the inside, there is a large pocket on the inside of the front cover, there are seven dividers in the planner, I used two different papers to decorate mine, this is the first one.


This is the second divider design, I have not really decided how I'm going to use my planner, I might use it as a regular planner or perhaps a meal planner so I have not labelled the dividers yet.


I have also created an insert that has two pockets, a small pocket behind the journal card


There is another larger pocket on the inside


The inside back cover is the same as the front just in reverse so I didn't think you would like to see yet another photo of that.

Thank you for visiting my blog today and thank you for all of the lovely comments that you leave, they are all read and much appreciated.

Pauline
x


Sunday, 24 July 2022

Jocasta Recipe Box

I have taken part in another of Clare Charvill's - My Creative Spirit classes, this time we have created a Recipe/Photo box and a Planner/Photo Book, this is my completed Recipe Box.


There are two classes one on a Friday evening from 6 pm to 8 pm and another on the Saturday from 6 pm until we have covered everything, this one is usually about 2 hrs as well.  In the first of the classes we created the box, Clare provides a comprehensive cutting guide in advance, we then put the box together in the class.


The box has a hook lock closure and metal feet, it opens up and has a little ledge to place your recipe card on when you are using it. I have decorated my box with Graphic 45 Farmhouse papers, it is all ready for some dividers and recipe cards.


Thank you for popping in today, your company is much appreciated.

Pauline
x

Wednesday, 20 July 2022

Sir Vagabond Folio

This is the folio that I created in a recent Facebook Live class run by Clare Charvill - My Creative Spirit, I used Stamperia Sir Vagabond Aviator papers to decorate it, the same papers that Clare used but I used them a little differently.

This is the front of the folio, it is closed with a ribbon.


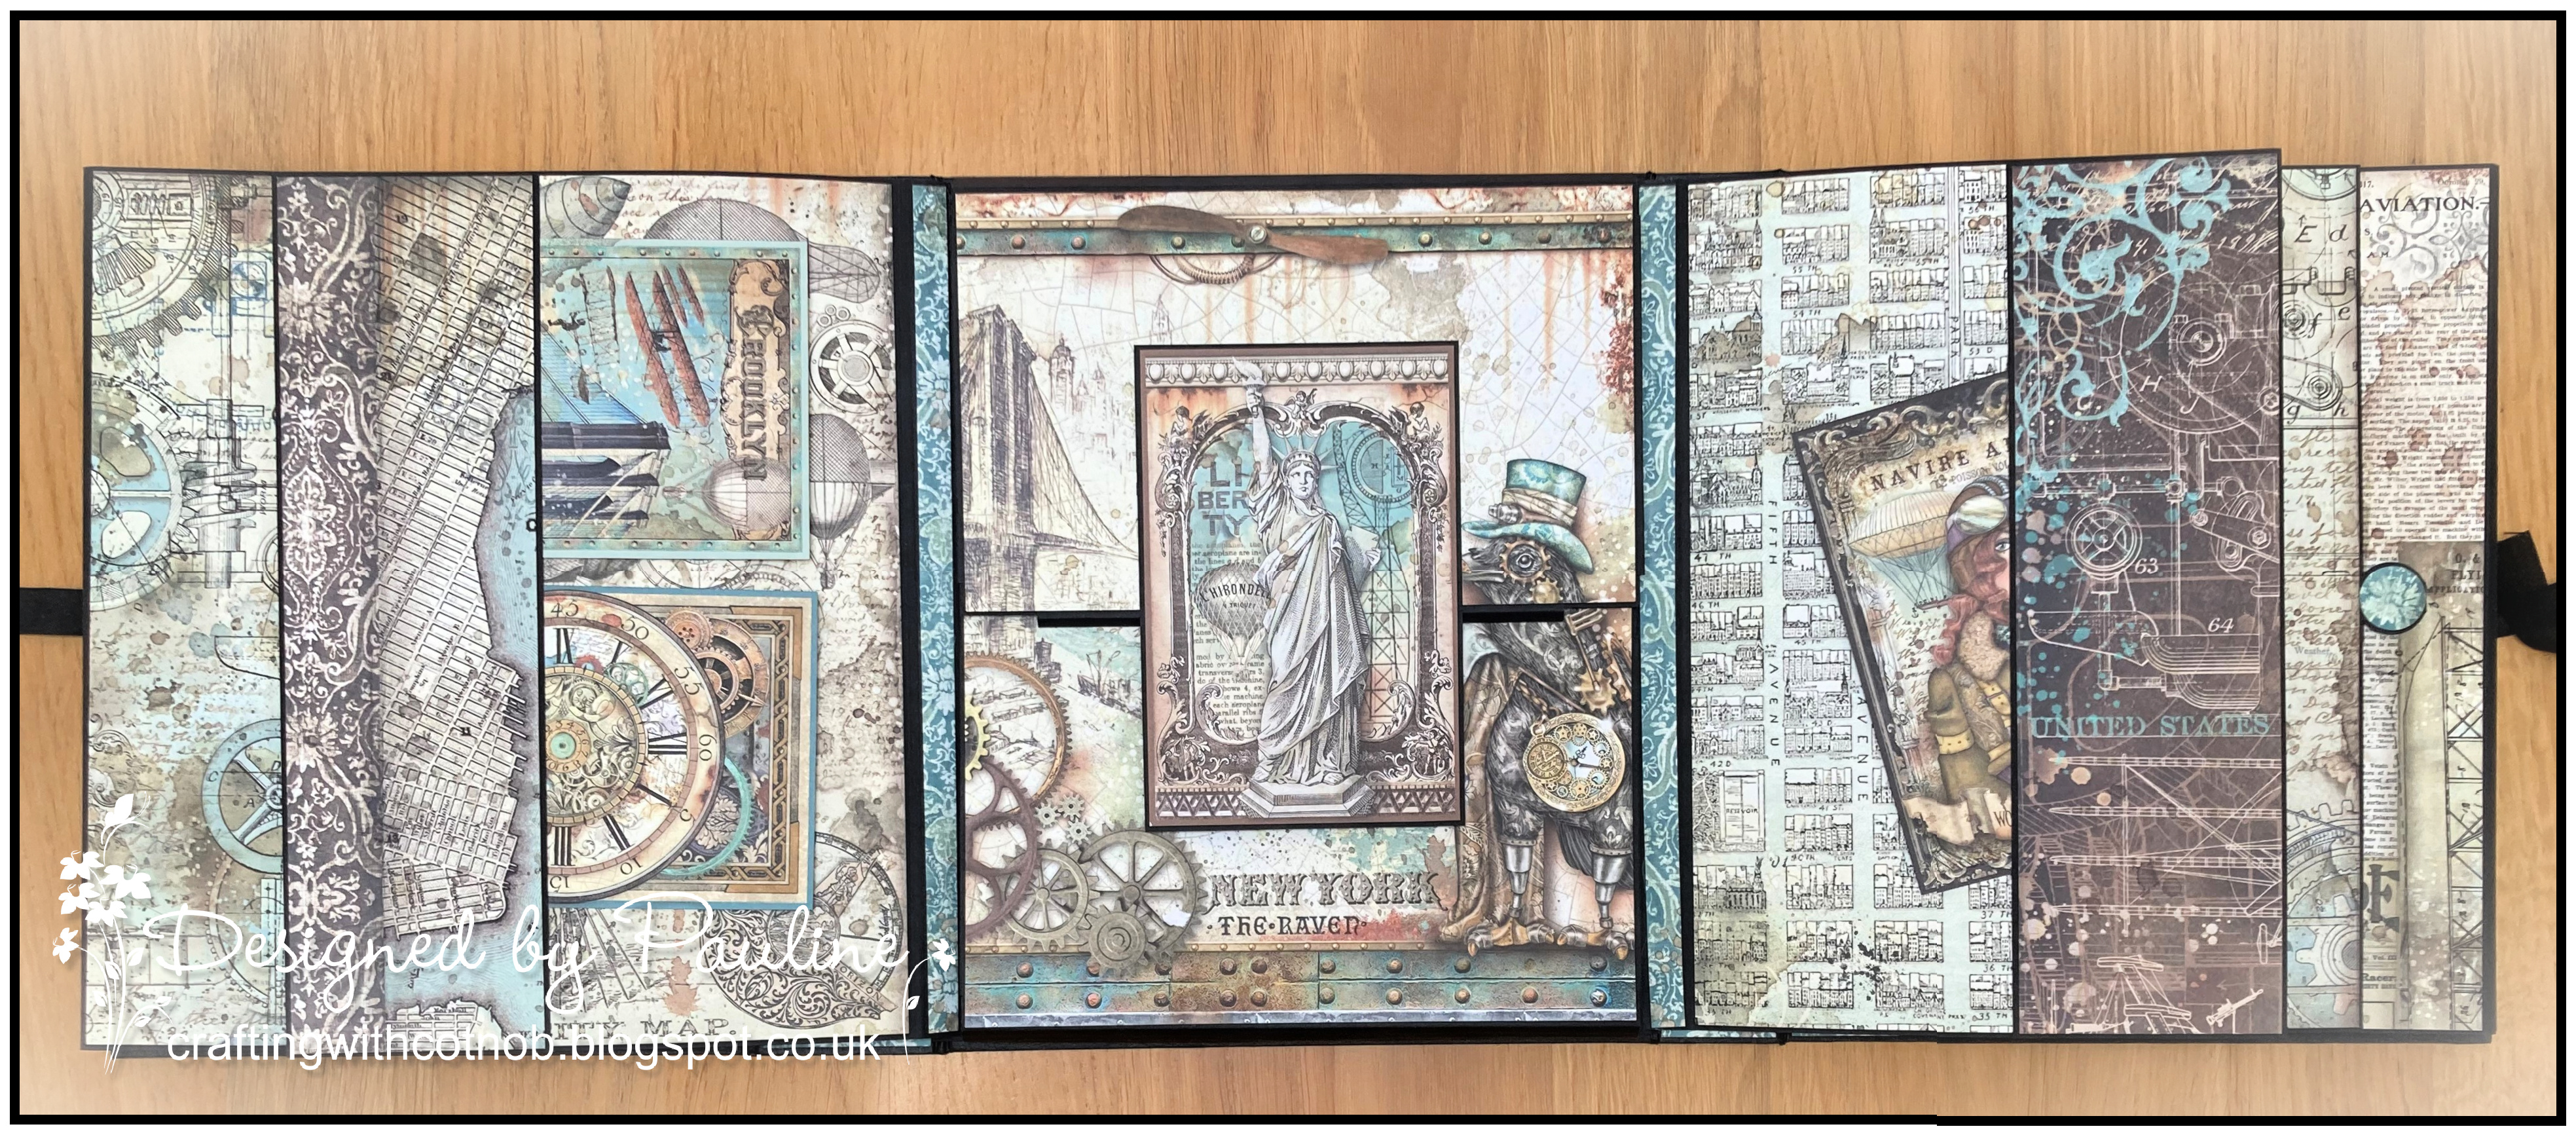
The next photograph shows the folio opened out, there are three sections and each section has three leaves.
 

This is the left hand section opened out, there are acetate pockets on the two outer leaves and a waterfall section with a deep pocket behind that contains a large pullout.


This is the folio with both side sections open and the centre section with the leaves open, there are large pockets on inside of the two outer leaves.


This is the centre fold out section opened, it lifts up and pulls down to reveal two smaller fold out sections.  In the centre there is another waterfall section with a large tuck spot underneath.


This is the right hand section opened out, it is the same as the left section without the acetate pockets.


I really enjoyed making this folio, Clare is a great teacher and I love the Sir Vagabond Aviator papers.

Thank you for popping in today, your company is much appreciated - please leave a comment so that I can come and visit you.

Pauline
x

Friday, 22 October 2021

Hortensia Sliding Box

I think I mentioned that I was taking part in another Facebook Live Workshop with Clare from My Creative Spirit last weekend, this is the box that we created - it has a sliding lid, when I first saw what we were going to make I was a little worried, I thought it would be rather difficult but Clare's instructions were easy to follow and the process is quite straight forward.


Above you can see the box closed and below you can see it with the lid partly open, I used papers from the Stamperia Hortensia collection to decorate my box, the inside has been covered with black card stock, I am currently working on the album that goes inside - Claire shows us how to make the album base in the workshops and gives us several different options for decorating but leaves it up to us to decide on what papers to use and how to finish our albums.


This is the box with the lid completely removed.


The Hortensia papers are gorgeous, it was quite difficult to cut into them - below you can see the decorated sides of the box, I will share the album when I have completed it, it could take quite a long time!


Thank you for popping in today and thank you for all of the lovely comments that you leave, they are all read and much appreciated.

Pauline
x

Wednesday, 20 October 2021

Sleeping Beauty

I took part in the My Creative Spirit Facebook Live Class No. 25, it was about four weeks ago and it has taken me a while to complete the project.  It is a Layered Box Album and it is rather large - just over 10" x 8" x 2 1/2" when closed and quite difficult to photograph, I have not done it justice.


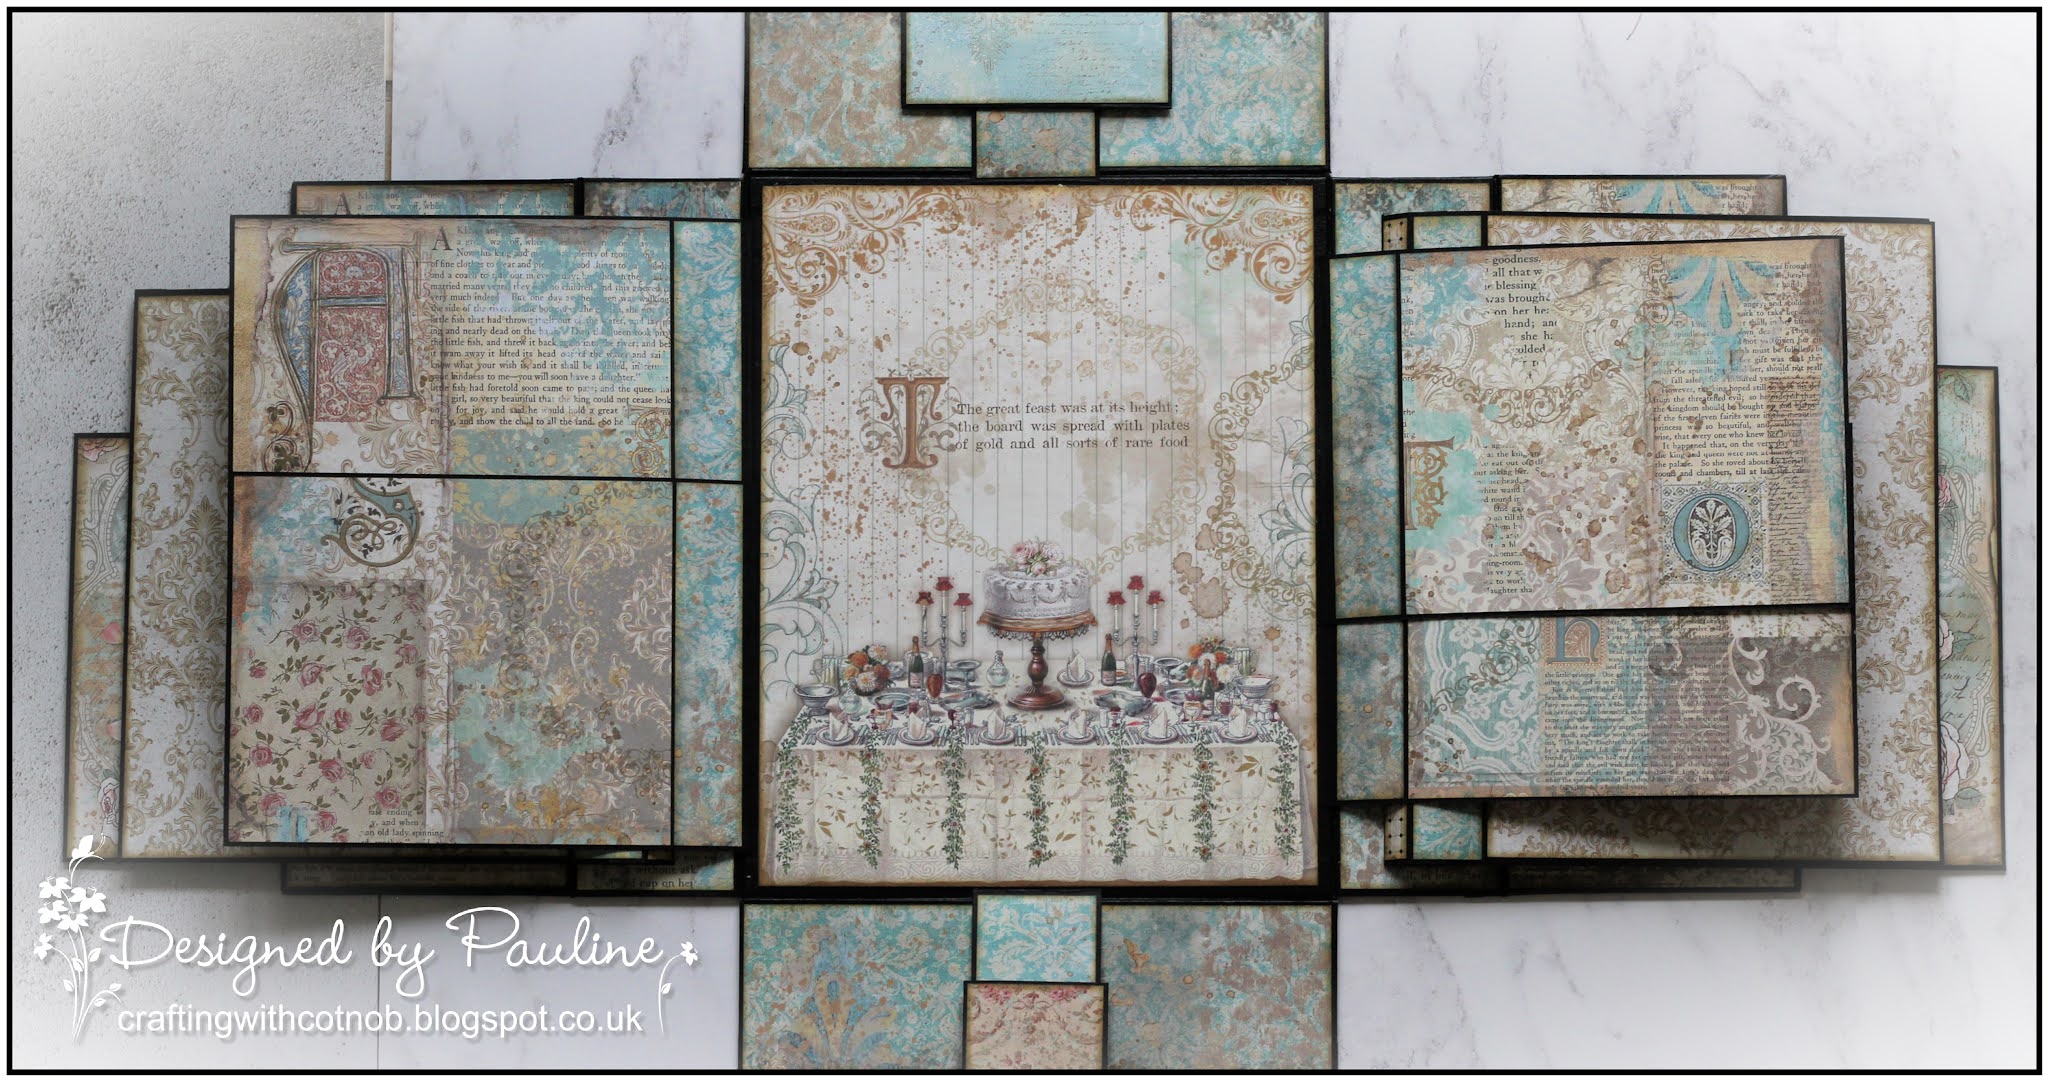
Above the album is closed, it is secured with magnets and below it is fully opened out, there are four pages and they get slightly larger as you go through and as they are mounted on the sides of the box they splay out as it is opened.


The following photographs show the flaps as they are opened out, I love the Stamperia Sleeping Beauty papers so much that I could not bring myself to cover them up with any of the additional flaps and pockets that Clare showed us how to make.


Below you can see a buckle closure, it holds the centre four flaps closed and there is lots of room for expansion if you wish to add photographs or embellishments.


I really enjoyed creating this album, it took me a while and like I said the photographs do not do it justice but I love it.

Thank you for visiting my blog today, your company is much appreciated - please leave a comment so that I can come and visit you.

Pauline
x

Thursday, 16 September 2021

The Alberta Folio

I took part in another Facebook Live Workshop with Clare, My Creative Spirit a couple of weeks ago and this is the album that we created.

It is a large Folio Album, it measures just over 10 x 8 inches and has four pages - I used the Stamperia Sir Vagabond in Japan collection to decorate mine.

This is the front cover, I left mine plain, I love the papers so much I didn't want to cover them up with anything, it is a box folio with a magnetic closure.


This is the inside front cover, there is a box pocket with a policy envelope in it, the policy envelope opens out so that you can put things inside it.  There are four leaves that get slightly larger as you go through, the first page is split with two flaps that each have a small pocket, I have placed a bookmark, a tag and a journal card in the pockets. 


The back of each page has a small pocket, I have placed a tag in each of the pockets on the back of the first page.

Page two has  a fold out flap, mine has Lady Vagabond on it, isn't she beautiful.


Below is the back of page two with a journal card in the pocket and the front of page three which is another policy envelope,  I have used a large tag to keep mine closed.


I forgot to take a photograph of the front of page four, you can see it behind page three - it is just a plain page, you can see the back below, there is a large tag in the pocket.

On the back cover there is an expandable folder, below you can see the folder closed.


This is the folder with the side flaps opened out, all of the flaps have expandable sides, this gives you room to add lots of photographs or add-ons.


Here you can see the side flaps and the top and bottom flaps opened out to reveal two smaller flaps on the inside.


All of the flaps opened out, this was not the easiest album to photograph and the photographs do not do it justice, it looks much better in real life.


I hope I haven't bored you to death with all of the photographs, I really enjoyed making this project, the papers are absolutely gorgeous, now all I need to do is make sure I don't buy some more!

Thank you for visiting my blog today, your company is much appreciated - please leave a comment so that I can come and visit you.

Pauline
x

Monday, 16 August 2021

Bird Watcher

Sorry I haven't been around for a while, my eldest son came to visit for a few days so I was spending time with him.

This is the completed album that I created after taking part in the most recent Facebook Live class held by Clare from My Creative Spirit, it was number 23 and we made a window box and album.

Below you can see the album inside the window box, I used a combination of papers from the Graphic 45 Bird Watcher collection - you can see more details and photographs of the window box HERE.


Next you can see the inside of the front cover and the front of the first page, the front cover has an acetate flap, there is another flap on the first page, both flaps are secured with a magnet.


The next photograph shows the flap on the inside cover open to reveal a pocket, I  have placed a journal card in the pocket but you could also put a photograph in it.


Now you can see the flap on the first page open, there is a small tuck point that I have placed another journal card in.


Next is the back of the first page with a place to display a journal card or photograph and the front of the second page with a flap that has a pocket on it, again I have placed journal cards in the pocket but you could place photographs here as well.


Below you can see the open flap with a journal card in the small tuck pocket.


On the back of the second page I used my Stitched Slots Pocket Die to create the pockets that have journal cards in them, on the front of the third page there is a place to display a journal card or photograph.


The third page with the flap open.


The back of the third page with a photo mat and the front of the final page, this one has a small pocket in which I have placed a small journal card and a small tag.


The flap opened to show a journal card in the small tuck pocket.


The back of the last page with a side pocket that I have placed a tag in and the inside of the back cover which is a repeat of the inside front cover with an acetate flap.


The flap opened to show a pocket with a journal card in it.


Finally, these are the two tags that I have placed in the pockets.


Thank you for visiting my blog today, your company is much appreciated - please leave a comment so that I can come and visit you.

Pauline
x

Thursday, 5 August 2021

A Little Bird Told Me

Clare from My Creative Spirit held another Facebook Live Class last weekend, it was number 23 and we made a window box and album.  This is my completed box and the front of the album.


I used the fabulous Graphic 45 Bird Watcher collection to decorate the album and the box, above you can see the box with the album inside, I fussy cut some flowers and a bird to decorate the outside of the box.

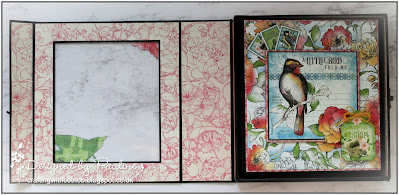
Below you can see the box opened out, I have decorated the inside of the box with papers from the patterns and solids collection.


Below is the box without the album in it, I covered the base with black cardstock and decorated the outside with papers from the 8 x 8 " paper pad.


This is the inside of the box, it has a folded lid with a clasp on the side.


This is the little clasp on the side when the box is closed, it was quite fiddley to get everything lined up but well worth the effort.


I haven't quite finished the album yet, I will share it when it is completed.

Thank you for visiting my blog today, your company is much appreciated - please leave a comment so that I can come and visit you.

Pauline
x