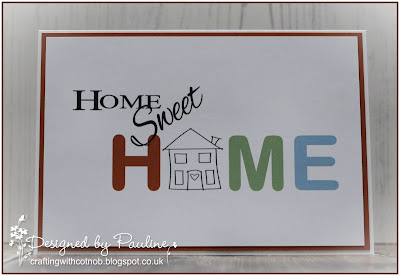
I am going to answer another of the Frequently asked questions that I have received on my blog.
Today I am going to answer:
"How do you create a card digitally in Microsoft Word"
This is the way that I do it, it might not be the simplest or best way to do it but it is the way that I prefer.
Open a blank document in Microsoft Word and select
Insert on the toolbar. Select
Shapes and draw the shape that you require. You can adjust the size by selecting
Format and the
Size option. Make sure you position your shape in the correct place on the page if you are creating a one layer card.
Remove the colour from the inside of your shape by selecting Format from the toolbar followed by Shape Fill and clicking on the No Fill option.
If you want to create a border around the outside select Shape Outline and choose your design, you can make your design bolder by selecting the Weight option, you can also change the colour.
Copy and paste your chosen image into the shape and adjust the size and position as required. I always right click on the image and select Wrap Text from the drop down menu and then In Front of Text - this makes it easier to manoeuvre your image within the shape.
Finally add your sentiment, you can either type your own or copy and paste a digital sentiment as I did.
You are now ready to print your card.
I hope you find this information useful, the best way to learn is to experiment and just have a play. You can rotate your images by selecting the
Layout option on the tool bar and add things like
Soft Edges and
Reflections in the
Shape Effects option under the
Format section. If you do something wrong or that you don't like just hit the back arrow and have another go.
Thank you for visiting today, your company is much appreciated.
Pauline
x


