If you are a regular visitor to my blog you might remember a series of Z-fold cards that I created for Simply Cards & Papercraft magazine.
As part of the commission I created two step by step tutorials, I have already shared the beginner design
HERE - this is the more advanced design.
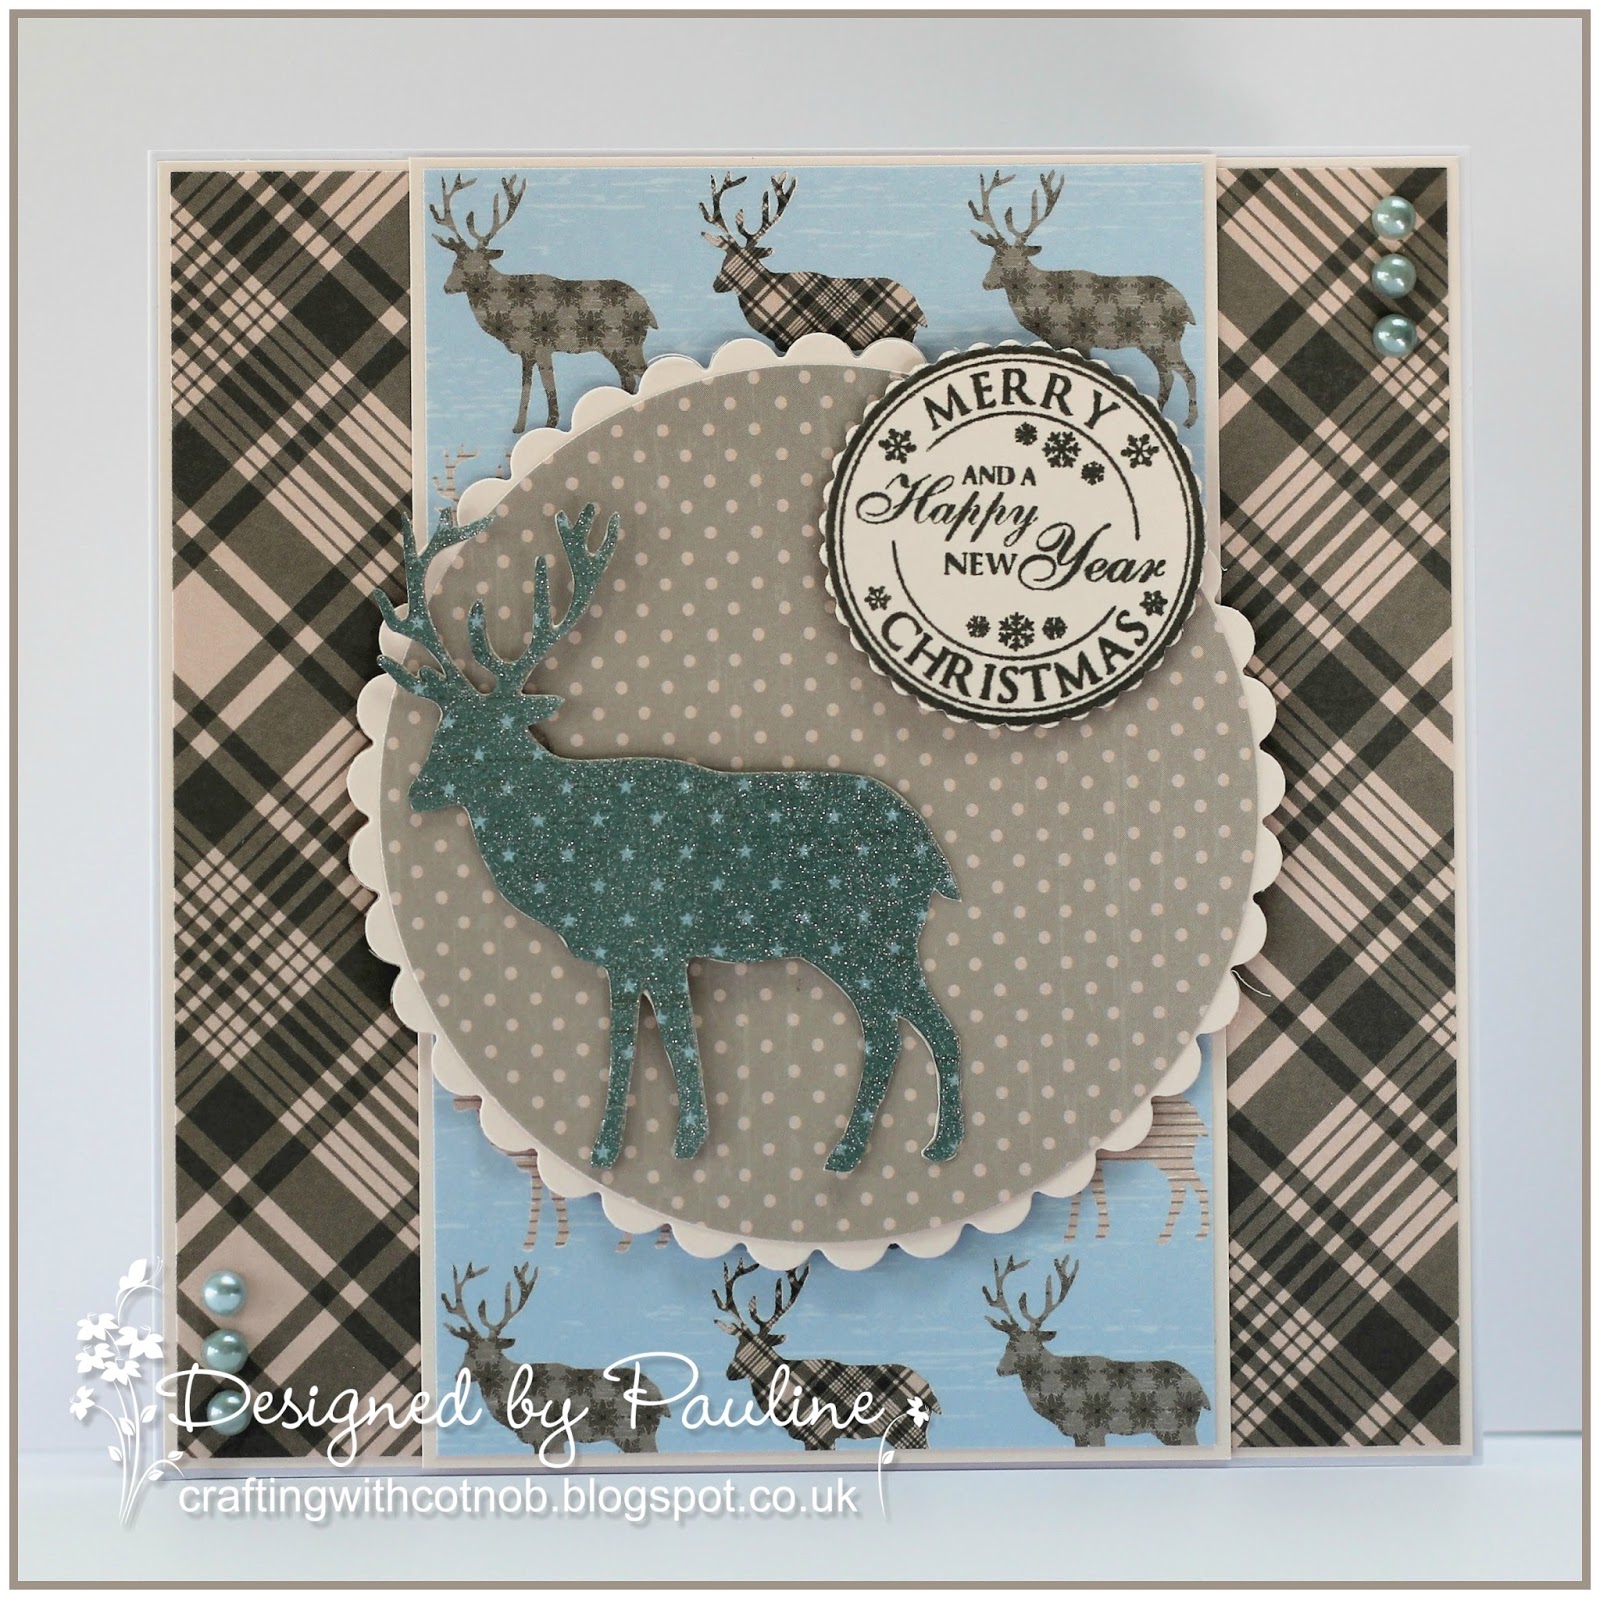
This is the finished card.
Score a 30 x 21 cm piece of blue card stock at 7.5 cm and 15 cm. Trim a 6cm strip from the bottom of the card stock. Trim the larger piece of card stock diagonally from a point 9.5 cm from the bottom left corner to the top right corner.

Valley fold both pieces of card stock along the 15 cm score line and mountain fold along the 7.5 cm score line. Cover the front panels with patterned paper leaving a narrow border.
Adhere the smaller panel to the front of the card to form the Z shape.
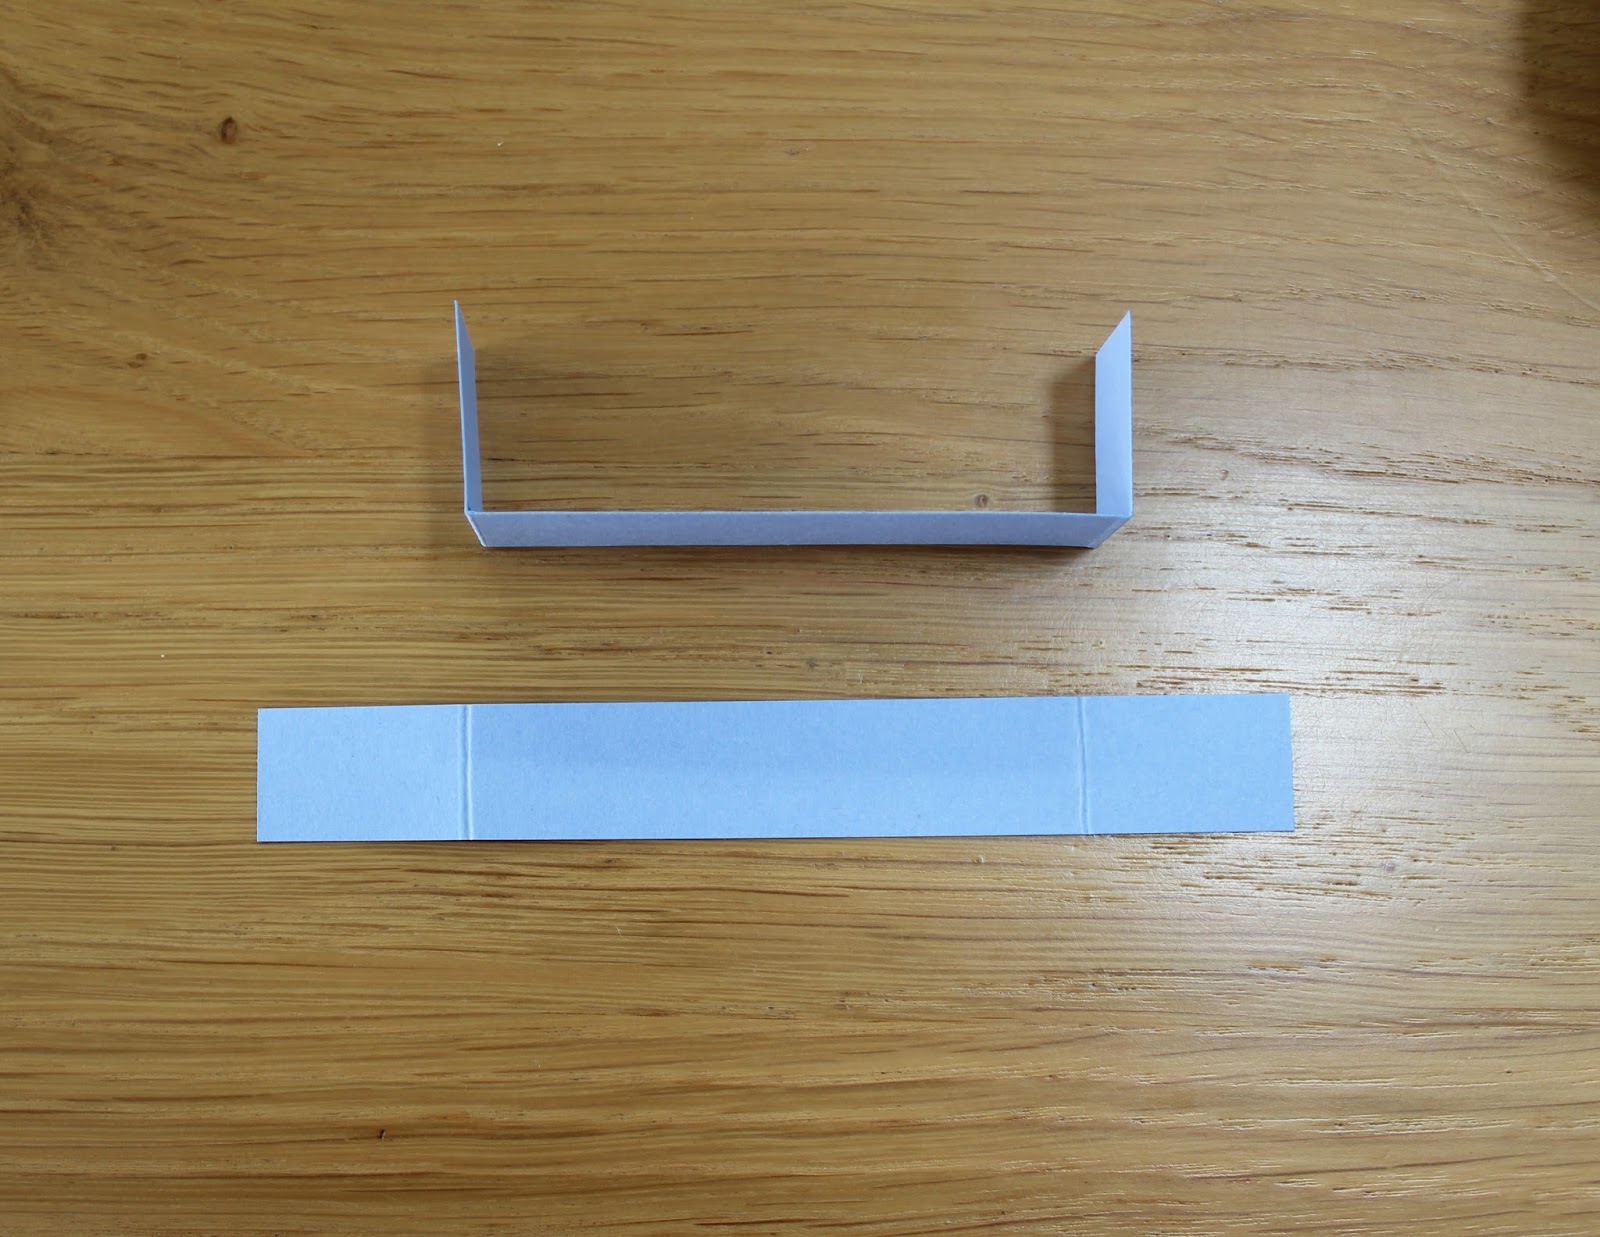
Cut two 12.3 x 1.5 cm strips of blue card stock and score at 2.5 cm from each edge, fold along the score lines.
Attach to the inside of the box that has been formed in the centre of the card.
Repeat with the second strip of card stock to form a pop up box.
![]()
Attach a selection of balloons and numbers to the blue tabs using acetate and decorate the front panels of the card as required.
I hope this step by step is helpful to those of you that haven't created a Z-fold card yet.
Thank you for visiting my blog today.
Pauline
x